
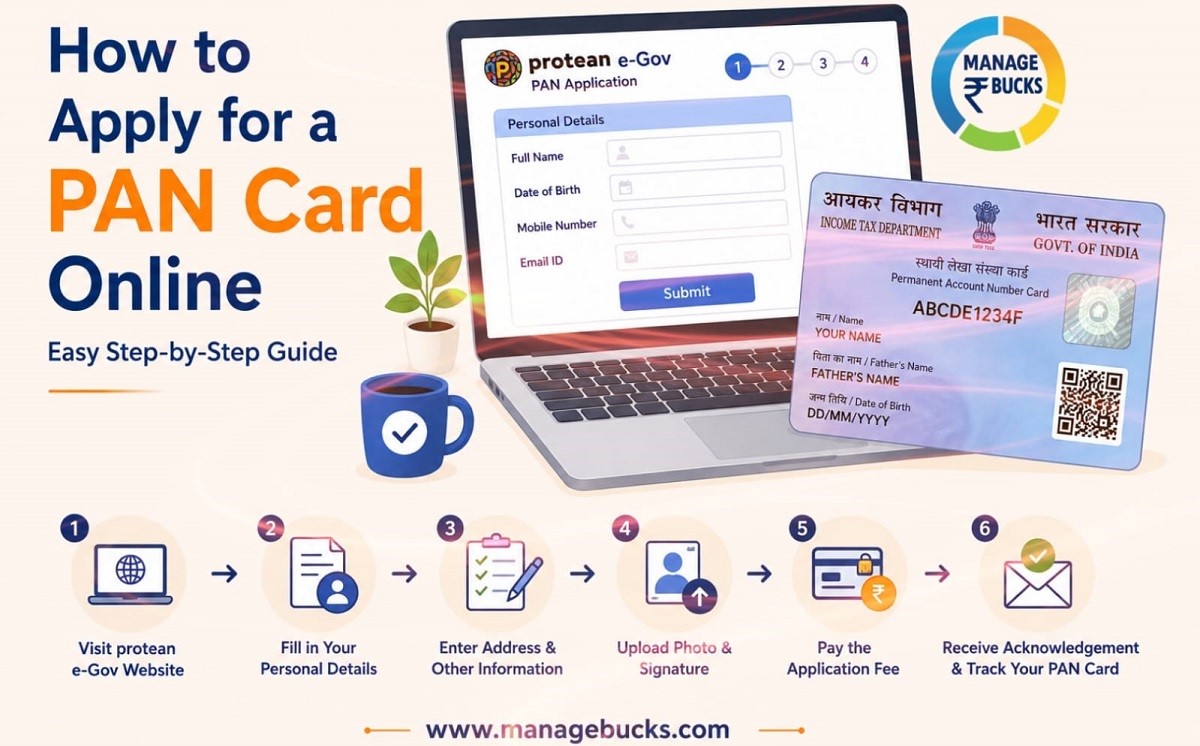
The PAN (Permanent Account Number) Card is one of the most important documents in India. Issued by the Income Tax Department, it is used for filing Income Tax Returns (ITR), opening Bank Accounts, opening Demat Accounts for investments, and various other financial activities.
If you are worried about getting a PAN card, you can easily apply for it online yourself. In this guide, we will explain in simple terms How to Apply for a PAN Card Online.
Who Can Apply for a PAN Card?
The following individuals and entities can apply for a PAN card:
- Indian citizens
- Students above 18 years
- Minors (through parents or guardians)
- Non-Resident Indians (NRIs)
- Companies and firms
Documents Required for PAN Card Application
Before applying, keep the following documents ready:
- Aadhaar card (this is the easiest way to verify your identity)
- Date of birth proof (Aadhaar Card, Birth Certificate, Passport)
- Address proof (Aadhaar, passport, voter ID, or utility bill)
- A scanned photo (JPEG, under 50KB, white background preferred)
- Scanned signature (on white paper, same format)
Where to Apply
There are two official portals for PAN card applications:
- Protean (Formerly NSDL) — www.tinpan.proteantech.in
- UTIITSL — www.pan.utiitsl.com
Both are legitimate. Both charge a similar fee. I’ll be walking through the NSDL/Protean route since it’s the one most people use, but UTIITSL works almost identically.
Step-by-Step: Apply for Pan Card Online
Step 1: Go to the Official Pan Card Application Portal
Go to the PAN application portal and select “New PAN Application.”
Step 2: Select Application Type
Choose:
Form 93 or Form 94 – For Indian Citizens
Form 95 or Form 96 – For Foreign Citizens
Then Select the applicable category
Step 3: Enter Basic Details And Click Submit
- Full Name
- Date of Birth
- Mobile Number
- Email ID
After this tick the checkbox, validate captcha and click Submit
Step 4: Continue with Online Pan Application
You will receive a Token Number on your email ID which is valid for 30 days. Click on the ‘Continue’
Step 5: Enter the Personal Details
Select the mode of submission of PAN card documents and if you require a physical PAN card.
Now enter:
- Father’s Name
- Address Details
- Aadhaar Number
Make sure all information matches your Aadhaar card and other documents.
Step 6: Enter the Contact & Other Details
- Select the source of income
- Select Address of communication
- Enter Address & Contact Details
- Select Residential Status
Step 7: Upload Documents
Upload scanned copies of:
- Identity Proof
- Address Proof
- Date of Birth Proof
- Passport-size Photograph (if required)
Step 8: Pay the Application Fee
The PAN card application fee is generally around ₹107 for communication addresses within India.
Payment can be made through:
- UPI
- Debit Card
- Credit Card
- Net Banking
Step 9 — e-Sign Using Aadhaar OTP
This is the final step, and honestly the coolest part. Instead of physically signing a form and mailing it somewhere, you verify yourself with an Aadhaar-based OTP.
Step 10: Submit the Application
After verifying all details, submit the application.
You will receive an acknowledgment number. Save it carefully because it will help you track your application status.
How to Check PAN Card Status?
You can track your PAN application using the acknowledgment number.
Simply visit the PAN status tracking page and enter:
- Acknowledgment Number
- Date of Birth
The current status of your application will be displayed.
How Long Does It Take to Receive a PAN Card?
Generally:
- e-PAN: Within a few hours to a few days
- Physical PAN Card: Around 15 to 20 working days
The timeline may vary depending on document verification.
Benefits of Having a PAN Card
A PAN card is useful for:
- Filing Income Tax Returns (ITR)
- Opening bank accounts
- Investing in mutual funds and stocks
- Applying for loans
- Buying or selling property
- Receiving taxable income